Eth Bangkok
Welcome to the Onchain Points ideas page for ETH Bangkok!
For this event, we have made some changes to the OnchainPoints contract to streamline the administrative features of the contract and to allow for hackers to focus on the core functionality of the OnchainPoints contract.
Major changes include:
- No need for contract whitelisting.
- Every new user account starts with
100points for ease of testing. - App specific point usage limits are introduced to avoid abuse.
Read more about Onchain Points contract and what's possible in the Build section.
Typical Development Lifecycle
The typical development lifecycle for any new app in the OnchainPoints ecosystem looks something like this (simplified):
- Developers build apps that integrate with the
OnchainPointscontract. - The app gets reviewed and approved by the OnchainPoints team.
- App contract gets deployed and whitelisted allowing the app to access points issued to the users.
- Users can spend points by signing a request to
spendTokenwith their wallet, or by sending a delegated request tospendTokensOnBehalfthat has been signed by the spender along with the correct allowance set by the user.
Deployed Contracts
This modified contract is deployed to the Onchain Points Testnet. Details about the deployed contract addresses and instructions for connecting to the testnet are below.
| Contract Name | Address | Source Code |
|---|---|---|
| OnchainPoints | 0x0026B6C897BF041AE7c8a2fC7698ce8e0998503d | GitHub |
How to connect to Onchain Points Testnet
The Onchain Points ecosystem along with the testnet lives on a dedicated Layer 3 blockchain. You can connect using any EVM-compatible wallet or Web3 provider with the following network details:
| Network Details | Value |
|---|---|
| Network Name | Onchain Points |
| RPC URL | https://rpc.onchainpoints.xyz |
| Chain ID | 17071 |
| Explorer | https://explorer.onchainpoints.xyz |
| Currency | $POP |
Connect with MetaMask
- Open MetaMask and click the network dropdown at the top
- Select "Add Network"
- Choose "Add Network Manually"
- Enter the network details:
Network Name: Onchain Points
New RPC URL: https://rpc.onchainpoints.xyz
Chain ID: 17071
Currency Symbol: POP
Block Explorer URL: https://explorer.onchainpoints.xyz - Click "Save"
Connect Programmatically
Using ethers.js:
const provider = new ethers.providers.JsonRpcProvider('https://explorer.onchainpoints.xyz');
const network = await provider.getNetwork();
console.log(`Connected to chain ID: ${network.chainId}`);
Using Web3.js:
const web3 = new Web3('https://rpc.onchainpoints.xyz');
const network = await web3.eth.getChainId();
console.log(`Connected to chain ID: ${network}`);
Getting Started
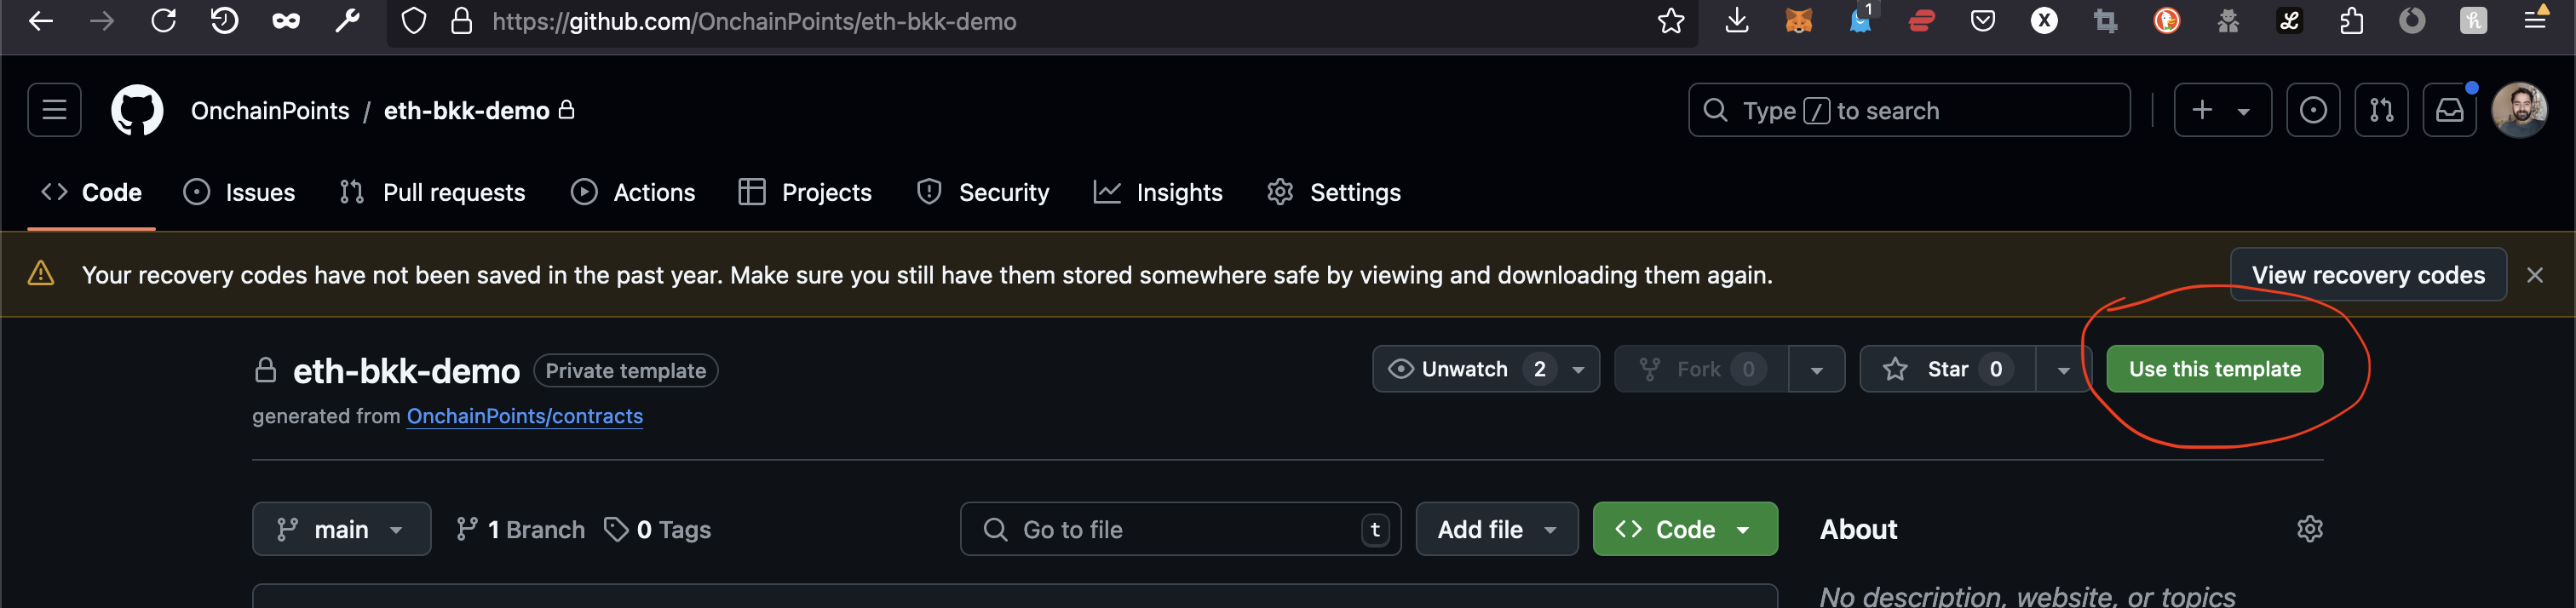
We have built a demo contract that demonstrates how to interact with the OnchainPoints contract and use points issued to users.
Feel free to use this as a starting point to build your own apps. Just click on the Use this template button to create your own copy of the repository.
Need Gas?
You can get some POP from the faucet.
How to Use the Demo Example:
Clone the repository
git clone https://github.com/OnchainPoints/eth-bkk-demo.git
Install Dependencies
cd eth-bkk-demo/
npm install
Copy the example .env file
cp .env.example .env
In .env, set the PRIVATE_KEY to the private key of the account you want to use for the demo.
Running the Demo
Start a local hardhat node:
npx hardhat node
In a new terminal, deploy the modified OnchainPoints contract:
npx hardhat run scripts/deploy.js --network localhost
Deploy the demo contract:
npx hardhat run scripts/deploy-demo.js --network localhost
Run the demo points spending script:
npx hardhat run scripts/spend-points-demo.js --network localhost
Enter the contract addresses for the OnchainPoints and SpendingDemo contracts when prompted.
That's it! You should see the points balances of the user and the demo contract change as the points are spent.